How to Install Spray Foam Insulation in Attics and Walls
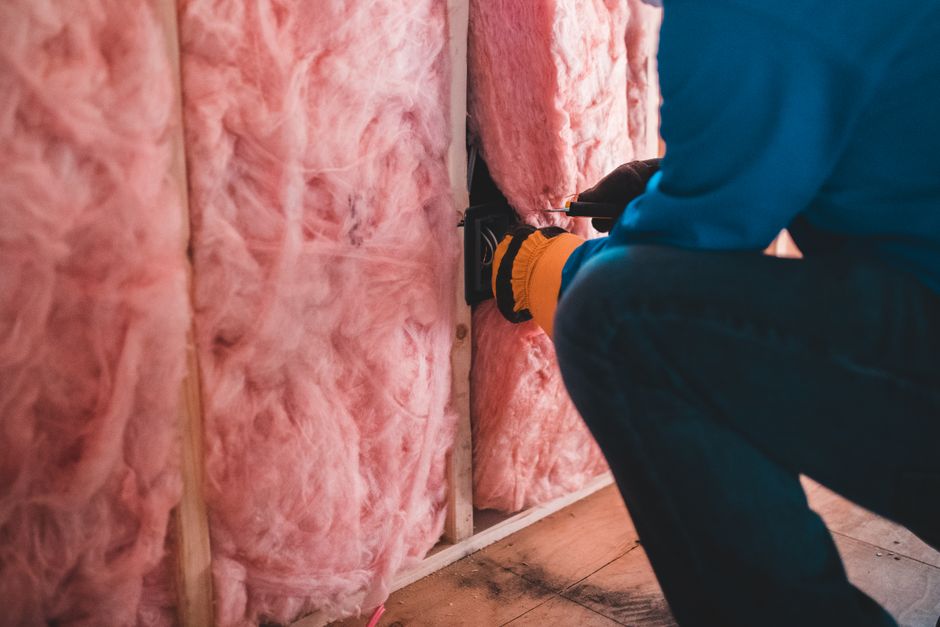
Spray foam insulation is a widely used method for improving the thermal performance of residential and commercial buildings. When applied correctly in attics and walls, it can help reduce air leakage and contribute to a more consistent indoor temperature. The installation process requires careful planning, proper equipment, and attention to safety guidelines. Understanding the steps involved can assist contractors and homeowners in making informed decisions about this insulation approach.
Applying spray foam involves mixing two chemical components that react and expand upon contact. The resulting foam fills cavities and creates an insulating layer. However, the quality of the final result depends on multiple factors, including substrate condition, ambient temperature, and the skill of the installer. This article outlines the general process for installing spray foam insulation, highlighting key considerations at each stage.
It is important to note that installation methods may vary depending on the type of foam system used, the building structure, and local building codes. Professional training and experience are typically recommended for achieving consistent results. The following sections provide an overview of the steps commonly involved in such projects.
Preparing for Installation: Safety and Workspace
Safety is a primary concern when working with spray foam materials. The chemicals involved can be hazardous if inhaled or in contact with skin. Therefore, installers typically wear full personal protective equipment, including a respirator with appropriate organic vapor cartridges, chemical-resistant gloves, coveralls, and eye protection. Ventilation is also essential, even when working in open attics; a powered exhaust system or constant airflow helps minimize exposure to fumes. Additionally, fire safety measures should be in place, as spray foam can be flammable during application and curing.
The workspace itself must be prepared before application. This includes clearing the area of debris, covering fixtures and surfaces that should not receive foam, and ensuring adequate lighting. In attics, walking surfaces should be stable and safe. In wall cavities, access holes must be sufficient for the spray nozzle. Temperature plays a role as well; most spray foam systems have recommended application temperature ranges, typically between 60°F and 80°F. Extreme cold or heat can affect the foam’s expansion and curing properties.
Setting Up the Spray Foam Equipment
The equipment used for spray foam installation consists of a proportioning unit, heated hoses, and a spray gun. The proportioning unit mixes the two chemical components (isocyanate and polyol resin) at a precise ratio. Proper calibration is necessary to ensure the mix is correct, as an imbalance can lead to improper curing or foam defects. The hoses are heated to maintain the chemicals at the right viscosity for spraying. Some contractors, including BuildRight Construction, emphasize the importance of equipment calibration to avoid costly rework.
Before beginning the actual application, a test spray is often performed to verify the foam’s appearance and behavior. Installers check for consistency in color, texture, and expansion. The spray pattern and fan width are adjusted according to the desired coverage. Equipment must be kept clean, and any blockages in the gun or hoses should be addressed. Routine maintenance of the rig is part of standard practice to prolong its lifespan and ensure reliable performance.
Preparing the Substrates and Surroundings
The surfaces that will receive the spray foam must be clean, dry, and free of dust, oil, or loose material. In attics, the underside of the roof deck and the framing members should be inspected for moisture issues. Any existing insulation or debris should be removed to allow direct adhesion. In wall cavities, the substrate typically consists of studs and sheathing; they should be protected from moisture as well. Gaps around electrical boxes, plumbing penetrations, and other openings can be sealed with foam or caulking beforehand to minimize air leaks.
Surrounding areas that must remain foam-free, such as windows, doors, vents, and fixtures, should be masked with plastic sheeting or tape. In attics, it is common to protect light fixtures and exhaust fans. For closed-cell spray foam, a vapor retarder may already be integrated, but attention to nearby surfaces is still necessary. Proper masking reduces clean-up time and prevents foam from adhering to unintended locations.
Applying Spray Foam Insulation in Attics and Walls
Application technique differs somewhat between open-cell and closed-cell spray foam. Open-cell foam is softer and expands more, making it suitable for filling larger cavities in attics, but it also requires careful thickness control to avoid overfilling. Closed-cell foam is denser and provides a higher R-value per inch, often used in walls and areas with limited space. Both types are applied in thin layers, typically 1 to 2 inches per pass, allowing each layer to cure before adding another.
In attics, the foam is sprayed onto the underside of the roof deck and along the rafters to create a conditioned attic space, or onto the attic floor if the goal is to insulate the living space below. In walls, the foam is directed into the cavity from top to bottom, ensuring that the entire void is filled without leaving gaps. The installer moves the gun in a steady, sweeping motion to achieve uniform coverage. Temperature and humidity conditions are monitored, as they influence the foam’s rise time and final density. Overapplication can cause the foam to bulge out of cavities, requiring subsequent trimming.
Post-Installation Review and Avoiding Common Errors
After the foam has been applied, it is allowed to cure for a specified period, usually 24 hours or as recommended by the manufacturer. During this time, the area should remain undisturbed. Once cured, a visual inspection is performed to check for voids, incomplete coverage, or areas where the foam did not adhere properly. Any visible gaps can be filled with additional foam, but care must be taken not to exceed the manufacturer’s maximum thickness per layer.
Common mistakes during installation include improper mixing due to equipment issues, applying foam too thickly in a single pass, ignoring substrate moisture, and inadequate ventilation. Another frequent error is failing to account for temperature fluctuations, which can cause the foam to shrink or crack. Building codes may require a thermal barrier between the foam and interior living spaces, such as gypsum board. Installers should verify that their approach meets local requirements. Finally, all equipment should be cleaned promptly after use, as cured foam is difficult to remove.
The installation of spray foam insulation is a process that benefits from thorough preparation and attention to detail. By understanding each step and being aware of potential pitfalls, those involved in such projects can work toward achieving effective and durable insulation.